For clients who need to confirm a signer's identity before they access documents for signature, SIGNiX offers a variety of methods. Biometrics is a new option that involves a third party checking not only a picture of the signer's ID but also pictures of their face, taken live during the authentication.
Please note - This new authentication is being rolled out slowly, so not every client will have access to Biometrics right away. Some clients, depending on their state's RON laws, may not receive this option at all.
Based on your commissioned state, if you believe that your your account should have this option available, you can contact the Customer Support team to discuss whether this can be turned on for you or not: customersupport@signix.com
Contents of this article:
How to Select the Biometrics Option:
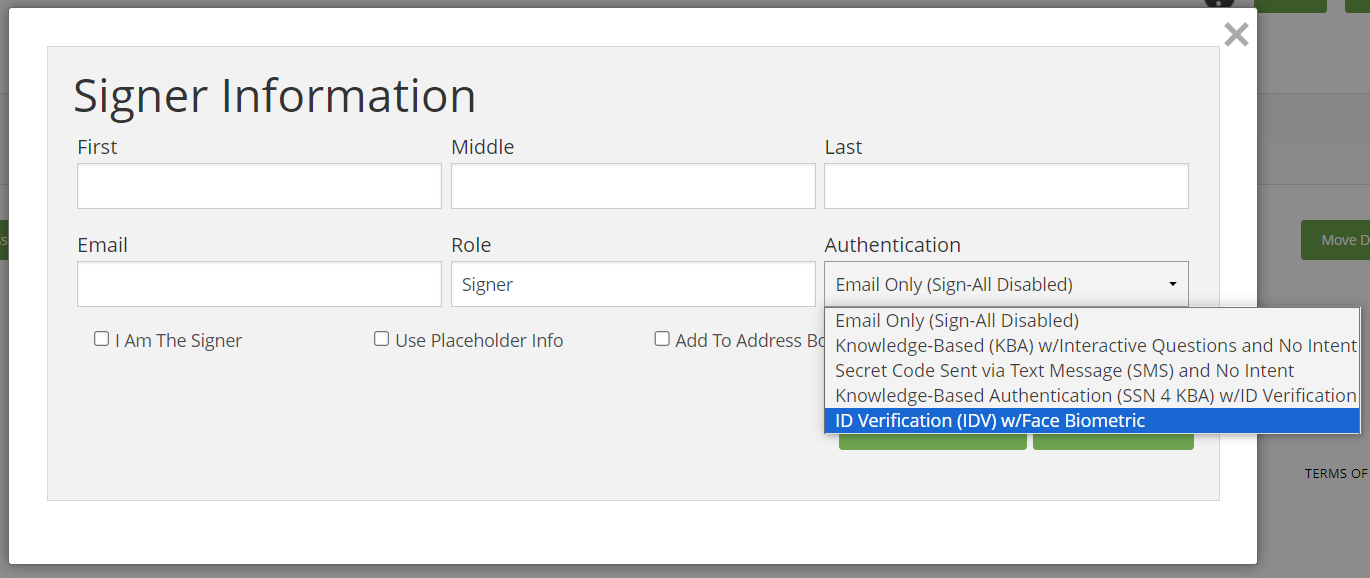
This option is set at the signer level, while creating a new transaction.
When you are adding a new signer, you should see an option in the "Authentication" drop down menu that says "ID Verification (IDV) with Face Biometric" which you should select.
You can setup the transaction as you normally would, adding signers and documents, then signatures and sending it out to begin the signing process.
For MyDox users, any questions on potential cost to use this authentication method can be directed to your Sales Rep.
What does the Signer Experience with Biometrics?
The signer's experience will be much the same as other authentication methods.
First, the signer will enter the Expiration Date of the ID they will be using.
Next, they will Accept the legal consent to sign the documents online.
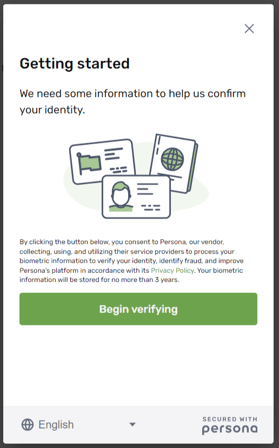
A pop-up window will appear on top of the SIGNiX screen to start the authentication process.
They should click the "Begin" button to continue forward.
The signer should have their ID in hand, ready to take pictures of it for this process.
Authentication is timed, so they only have a few minutes to complete before they have to start over.
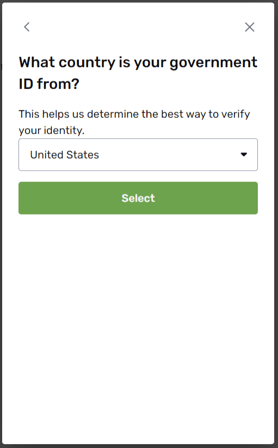
They will need to enter the Country where their ID was issued to them. There is a drop down menu for this purpose.
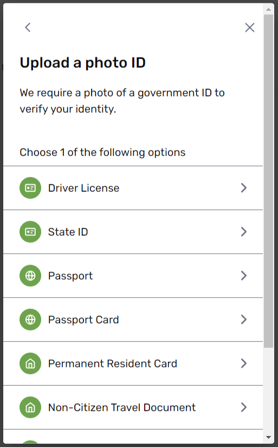
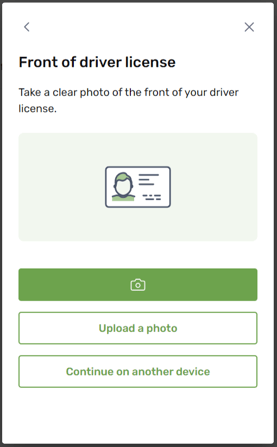
Next they will select what type of ID they are using, such as a Drivers License, Passport, etc. They must select the correct option or they risk failing the authentication if the ID does not match.
The signer can either take a live picture of the ID with the green button that has a Camera icon in the middle, or they can Upload a photo if they have one saved on their computer already.
Please Note: The option to upload a photo has been removed, in favor of the signer always taking a live photo to help provide proof against possible fraud.
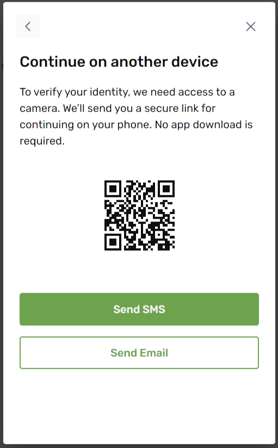
If they are on a computer and want to use their phone to take the picture, they can use the "Continue on another device" button. This will present them with options such as a QR code to scan with the phone, or the ability to have a link sent to them by SMS text message, or email.
The screens are the same if they move to a phone, they must select the correct ID option and either take a photo live, or upload a photo that is already saved on their phone.
This process will ask for a picture of both the Front and the Back of the ID, if the ID has a back with a barcode, such as a drivers license. They will not have to show the back of the Passport book, for example.
Once the ID pictures have been uploaded, the system will analyze them briefly.
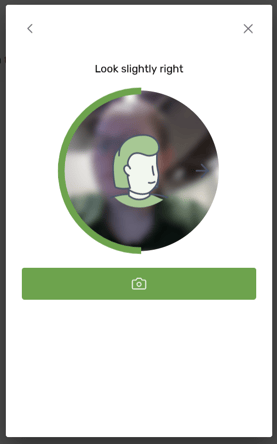
If the ID pictures pass, the signer will then be asked to take several pictures of their face. It will have on screen instructions for putting their face in the center of the screen, looking to the left, looking to the right, and it will capture each picture automatically.

If they do not pass right away, they can try the pictures of their face once more.
Tips for Taking Pictures:
The signer does need to turn their head to each side, they cannot just look with only their eyes to the side, because it wants to see 3 distinctly different views of the face.
If the signer is using a computer web camera, they should sit up right and close to the camera, so their face is clearly visible.
The signer does not need to smile, a neutral expression works just fine.
If the signer does not have glasses on in their ID picture, they can try taking their glasses off for the pictures of their face.
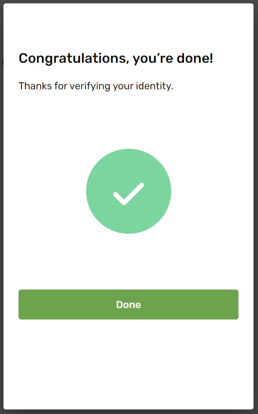
If they pass, this will be represented in a message on the phone, and also back on the computer screen as well, it will say "Congratulations" with a green checkmark and a "Done" button.
The signer will now be able to proceed with signing the documents.
** Notary Clients will be able to review the ID picture when it becomes their turn to notarize the documents.
The rest of the transaction will proceed like normal.
Common Issues
If your signer struggles to be confirmed, you can offer them some suggestions as they try again to take more pictures. Below are some common reasons why someone might not pass right away, and then what you might do to help address the issue.
- The picture is blurry, out of focus, or has glare across it from overhead lights.
- Suggest that they try taking pictures that are clear, as a computer must read the text.
- The name on the ID does not match the name on the transaction.
- Check what you have entered on the transaction, so you have the correct spelling. If they have multiple last names, you can include them all in the Last Name section.
- They selected the wrong type of ID.
- Ask them which option they selected, as they could have picked "Drivers License" when really they have a State Issued ID instead. Some states consider these two types interchangeable, while other states do not, so they can try again with another option.
- They have uploaded a photocopy of the ID, not a picture of the actual ID itself.
- The system will not accept photocopies. So they cannot scan the ID and take a picture of the paper, nor can they take a picture of a screenshot of the ID. The system is set to look for these as signs of fraud, so instead they should take a brand new picture of the ID directly.