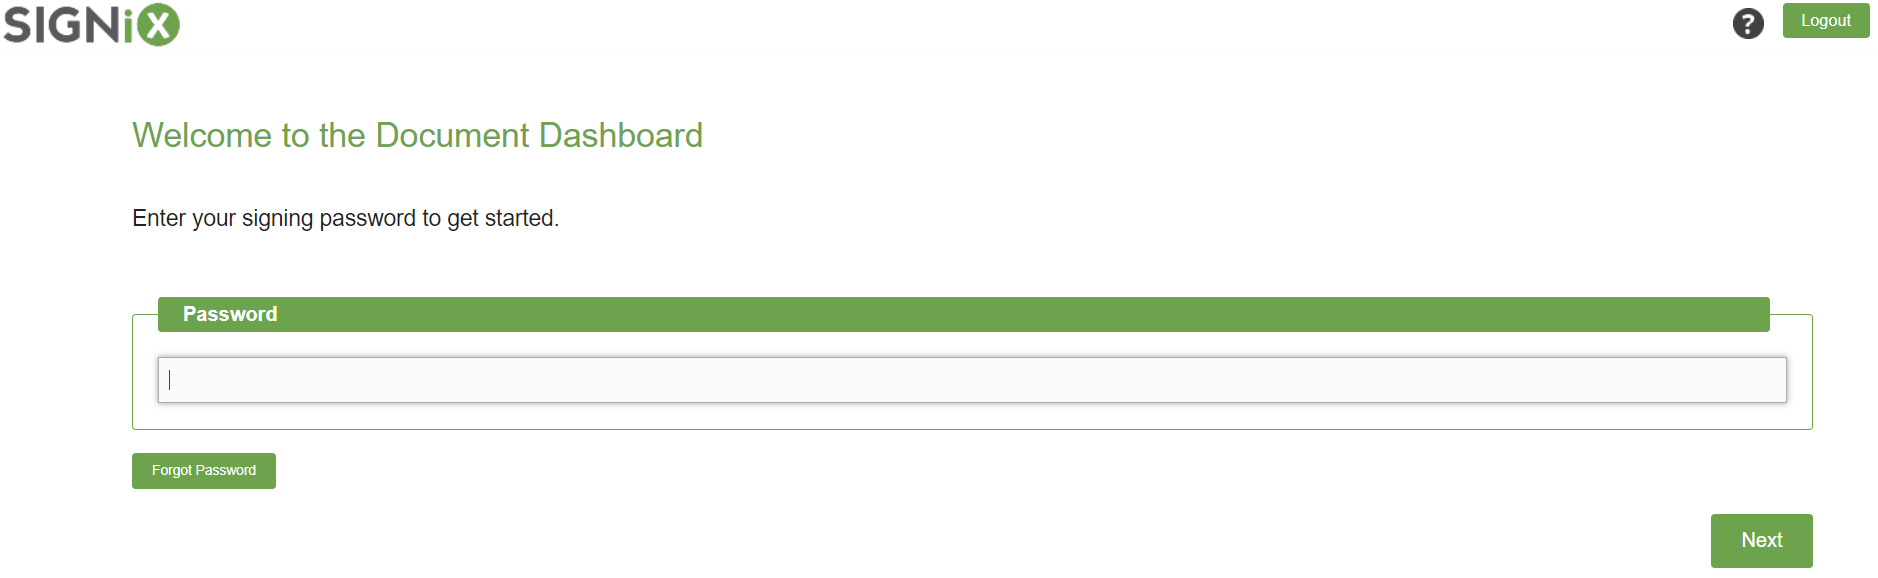
1. Use your personal access link and login to your Document Dashboard.
2. Click the Create New Transaction button at the top right side of the home screen.

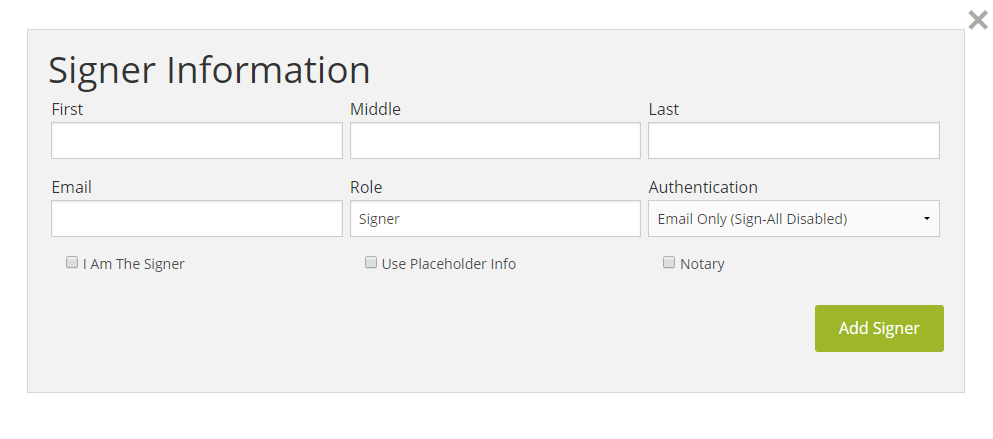
3. You will be prompted to add Signer Information. Make sure you correctly type in the signer's First and Last name, their Email address, and choose an Authentication Method to verify their identity.
Add as many signers as necessary, then click on the Next button to move to the Documents step.
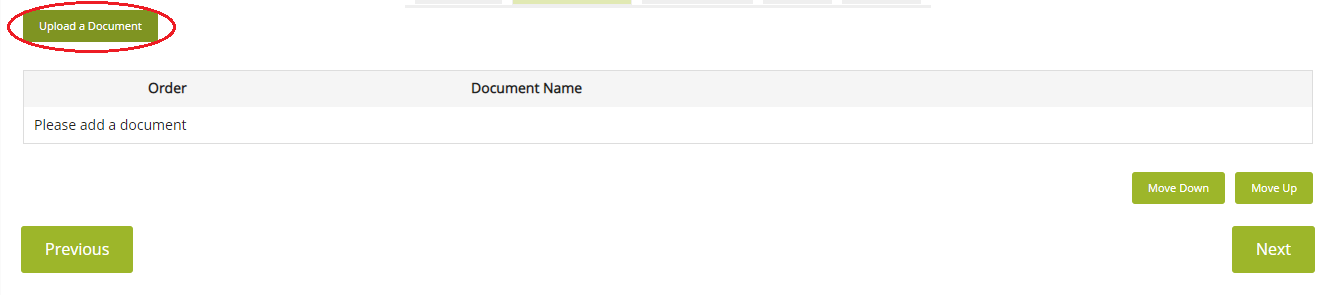
4. Use the Upload a Document button on the left side of the screen to search your computer for a document to add.
Note: You must upload a PDF type document only, no other file types are acceptable at this time. Click here for all Document Requirements.
Add as many documents as necessary, then click on the Next button to move to the Signatures step.
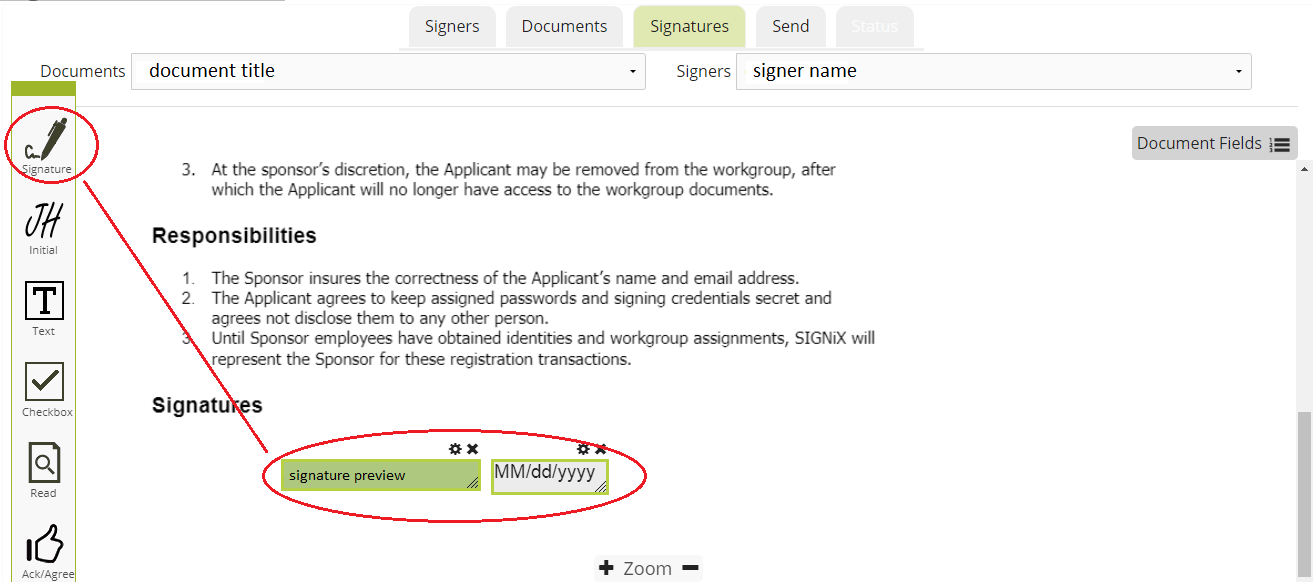
5. Use the toolbar on the left to drag and drop Signature fields onto your document in the correct places you wish the signatures to appear. Similarly you can also place other tasks, such as Initials, Text Boxes, and Check boxes onto the document where ever you need them. You will see a Preview of the signer's Signature, to help give you an idea of what it will look like when they sign after the transaction has been Started.
Add as many signatures and other tasks as necessary, keeping in mind the order in which you place each field, then click on the Next button at the very bottom of the screen to move to the Send step.
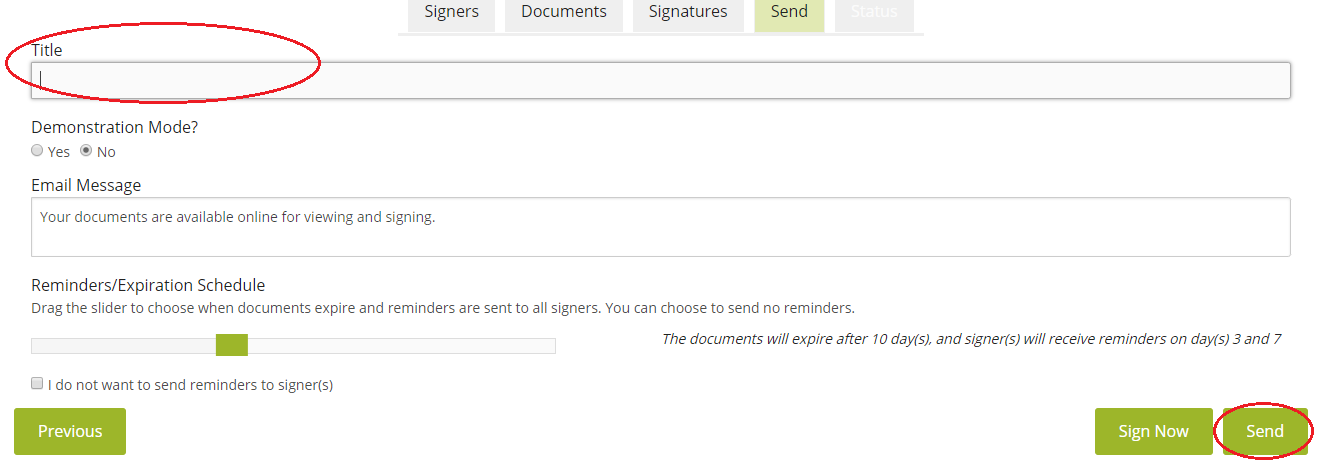
6. On the Send screen, name your new transaction something descriptive by typing into the Title field. The system will automatically populate a generic title which you can change as needed.
You can change the Reminder and Expiration Schedule, which determines how often your signers receive reminders to complete their tasks, and when the whole thing expires after not being completed. This is optional, you can leave the slider at the default position.
Click on the Send button to complete the transaction creation process and to send out an email to your first signer.
7. You will be returned to the Document Dashboard Home screen where you can now view your new transaction as it is pending signature.
8. If at any point you need to leave and come back to finish creating the transaction later, please click on the Save As button at the very top right of the screen. Then you will give your transaction a Title and click New Transaction to complete the save process.
To find Saved Transactions that have not yet been Sent, please return to the Document Dashboard Home screen and click on the "Transactions" button. On the Transactions screen, click on the drop down menu for "Filter" at the right side. Select the "Unstarted Transactions" option and you will see all Saved, but not yet Sent, transactions there.
![]()


